MicroPython-umqtt.simple-阿里物联网平台
1.介绍
让手中的树莓派PICO W连接阿里云物联网平台。
2.准备
- 下载并安装MicroPython固件,下载地址:download/rp2-pico
- 按住
boot set按钮,然后将PICO W插入电脑,会出现一个名为RPI-RP2的U盘,将下载的固件rp2-pico-**.uf2拖入U盘,等待固件烧录完成,会自动重启。 - 下载Thonny IDE,下载地址:https://thonny.org/
- 打开Thonny IDE,右下角选择
PICO W所在串口,然后点击工具->管理包->搜索umqtt.simple,安装umqtt.simple包。
3.连接阿里云物联网平台
阿里云物联网平台地址:https://iot.console.aliyun.com/
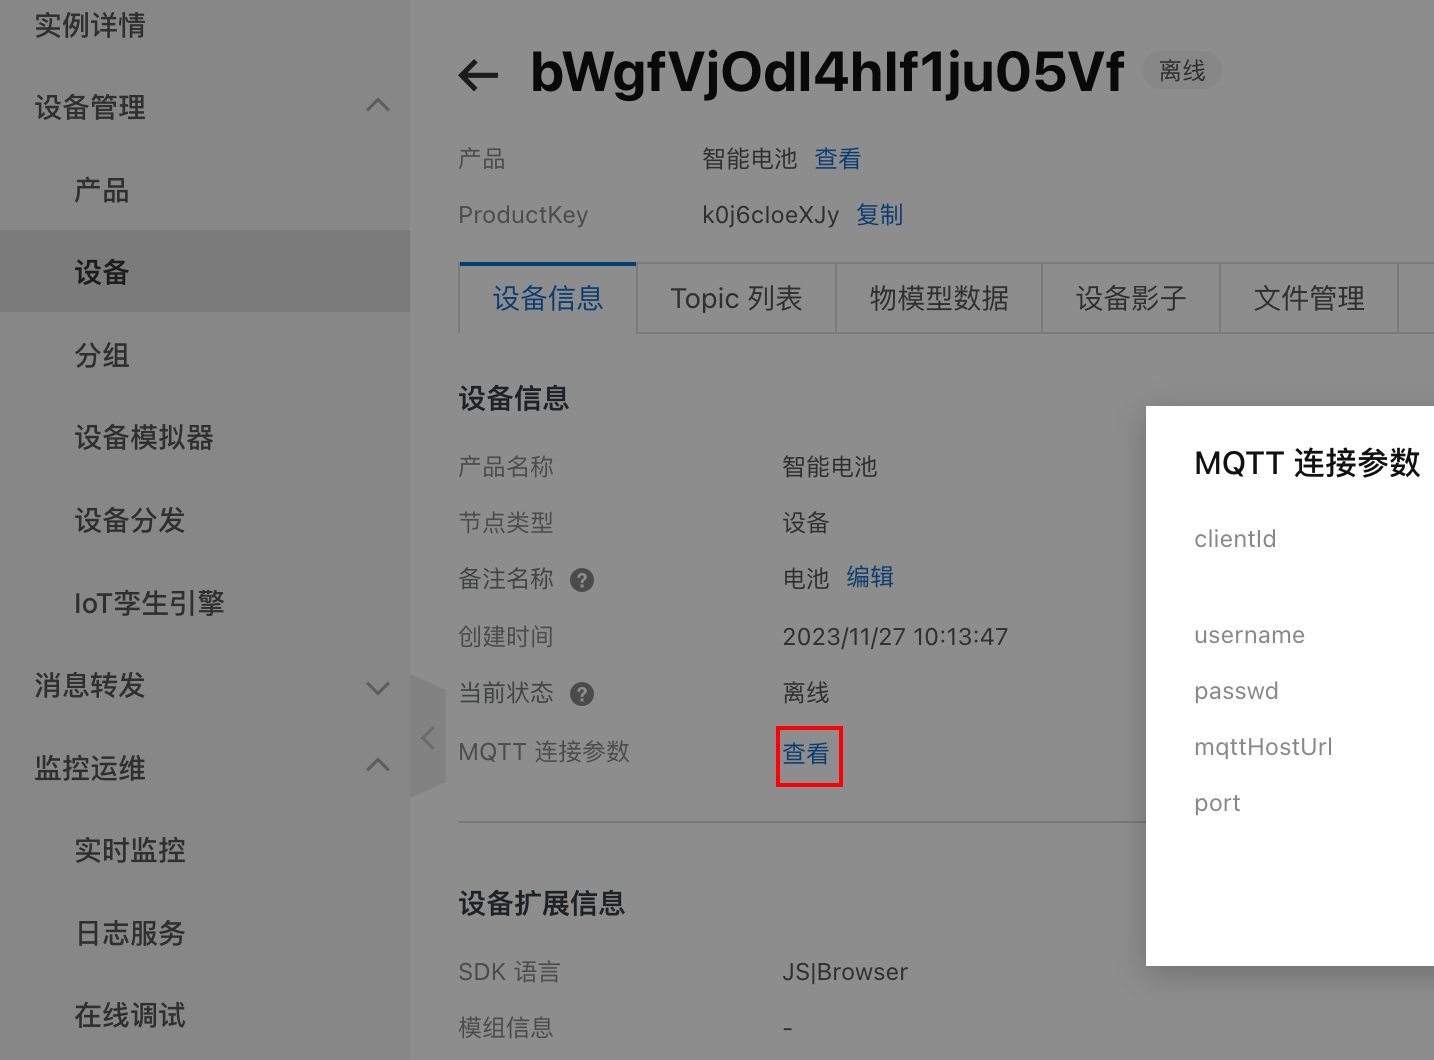
按照图片所示路径以及页面,点击MQTT 连接参数查看,弹出框点击一件复制,放在下面所示代码的info变量中。
import network
import time
from machine import Pin
from umqtt.simple import MQTTClient

info = {"clientId": "k0j6cIoeXJy.***fVjOdI4hIf1ju0***|securemode=2,signmethod=hmacsha256,timestamp=1701319494601|",
        "username": "bWgfVjOdI4hIf1***f&k0j6cIoeXJy", "mqttHostUrl": "iot-06z0***maph.mqtt.iothub.aliyuncs.com",
        "passwd": "292ead1360f6446c*****70dead32d0e158930dee065d7536cfaa", "port": 1883}
productKey = "k0j***eXJy"
deviceName = "bWgfVj***hIf1ju05Vf"
keepAlive = 100

subTopic = "/" + productKey + "/" + deviceName + "/user/get"
pubTopic = "/" + productKey + "/" + deviceName + "/user/update"
wifiSsid = 'wifi name'.encode("utf-8")
wifiPass = 'wifi password'


def wifi_connect():
    wlan = network.WLAN(network.STA_IF)  # STA模式
    wlan.active(True)  # 激活接口
    sc = wlan.scan()  # 扫描WIFI
    # 遍历
    for i in sc:
        print(i[0].decode("utf-8"))

    if not wlan.isconnected():
        print('connecting to network...')
        wlan.connect(wifiSsid, wifiPass)  # 输入WIFI账号密码
        while not wlan.isconnected():
            time.sleep(1)
        print('connecting to network success:', wlan.ifconfig())
        return True
    else:
        print('network information:', wlan.ifconfig())
        return True


def mqtt_callback(topic, msg):
    print('topic: {}'.format(topic))
    print('msg: {}'.format(msg))


def mqtt_publish(msg):
    client.publish(pubTopic, msg, qos=0)


if wifi_connect():
    client = MQTTClient(info["clientId"],
                        info["mqttHostUrl"],
                        info["port"],
                        info["username"],
                        info["passwd"], keepalive=keepAlive)
    client.set_callback(mqtt_callback)
    print("mqtt开始连接")
    client.connect()
    print("mqtt连接成功")
    client.subscribe(subTopic)

    mqtt_publish("hi!")

    while True:
        time.sleep(1)
注意
代码中所示keepalive一定需要配置,否则连接不上,踩坑弄了很久才发现。
运行以上代码,则会在物联网平台看到设备在线。并可以看到设备往平台发送的消息,日志地址:https://iot.console.aliyun.com/lk/monitor/log
4.无法订阅消息的处理方案
在阿里云物联网平台,设备在线但是无法订阅消息。安装的umqtt.simple在2017年之后就没有更新了,我们首先去下载源代码进行排查以及更改: micropython-umqtt.simple ,然后把原有导入的代码from umqtt.simple import MQTTClient删除掉,把刚下载的代码解压,找到simple.py文件完整代码复制到刚删除的地方。
运行程序,debug发现启动时下方代码12行返回0x9010进制为144错误码,导致while 1 跳出循环,导致后续无法正常订阅消息,我们需要注释掉第19行的return代码。
    def subscribe(self, topic, qos=0):
        assert self.cb is not None, "Subscribe callback is not set"
        pkt = bytearray(b"\x82\0\0\0")
        self.pid += 1
        struct.pack_into("!BH", pkt, 1, 2 + 2 + len(topic) + 1, self.pid)
        #print(hex(len(pkt)), hexlify(pkt, ":"))
        self.sock.write(pkt)
        self._send_str(topic)
        self.sock.write(qos.to_bytes(1, "little"))
        while 1:
            op = self.wait_msg()
            print(op) # 验证订阅返回消息
            if op == 0x90:
                resp = self.sock.read(4)
                #print(resp)
                assert resp[1] == pkt[2] and resp[2] == pkt[3]
                if resp[3] == 0x80:
                    raise MQTTException(resp[3])
                return
再找到下方代码块,修改第7行代码raise OSError(-1)改为return None
    def wait_msg(self):
        res = self.sock.read(1)
        self.sock.setblocking(True)
        if res is None:
            return None
        if res == b"":
            raise OSError(-1)
        if res == b"\xd0":  # PINGRESP
            sz = self.sock.read(1)[0]
            assert sz == 0
            return None
然后再去平台下发指令,将会在控制台收到如下信息
topic: b'/sys/k0j6cIoeXJy/bWgfVjOdI4hIf1ju05Vf/thing/service/property/set'
msg: b'{"method":"thing.service.property.set","id":"1024580116","params":{"PowerSwitch_1":0},"version":"1.0.0"}'
接下来就可以把业务逻辑写进去了,就可以控制、检测设备了。